
Last updated November 2, 2026
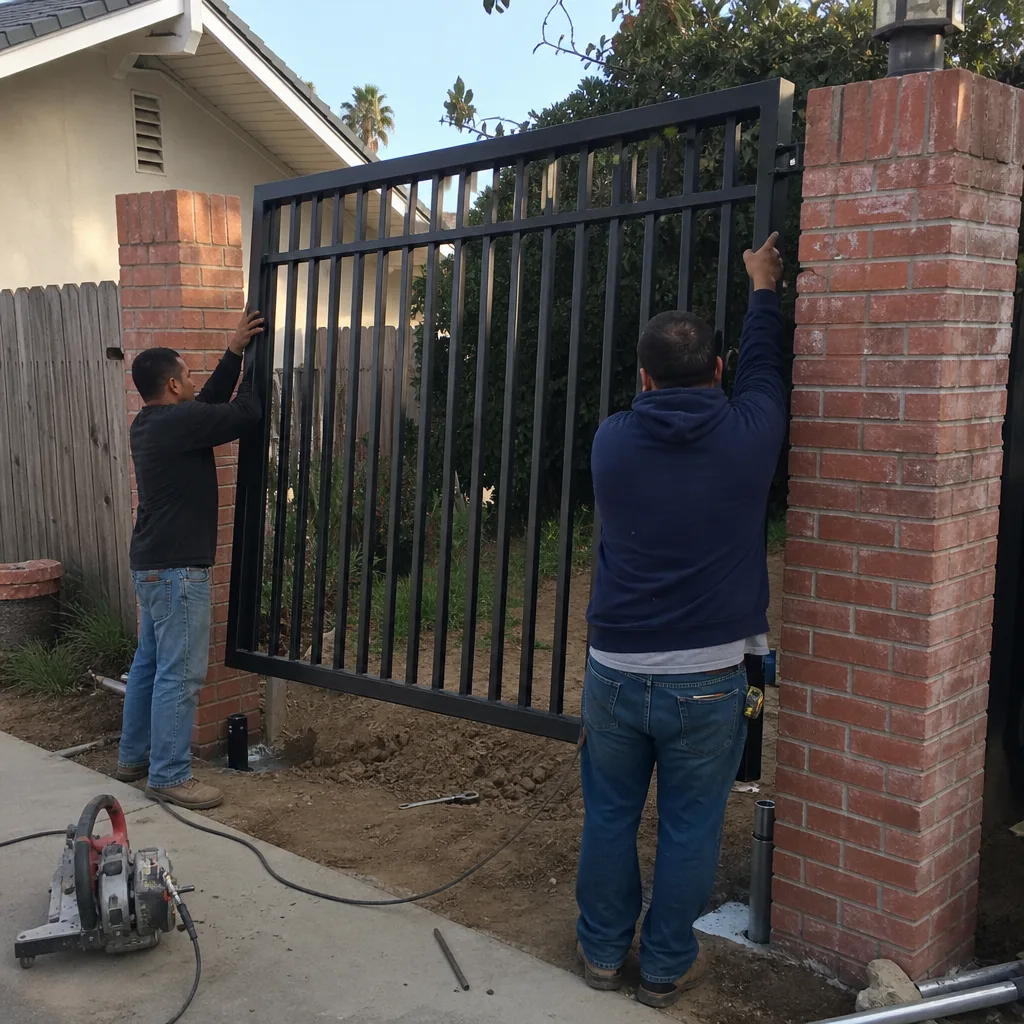
 Wrought iron
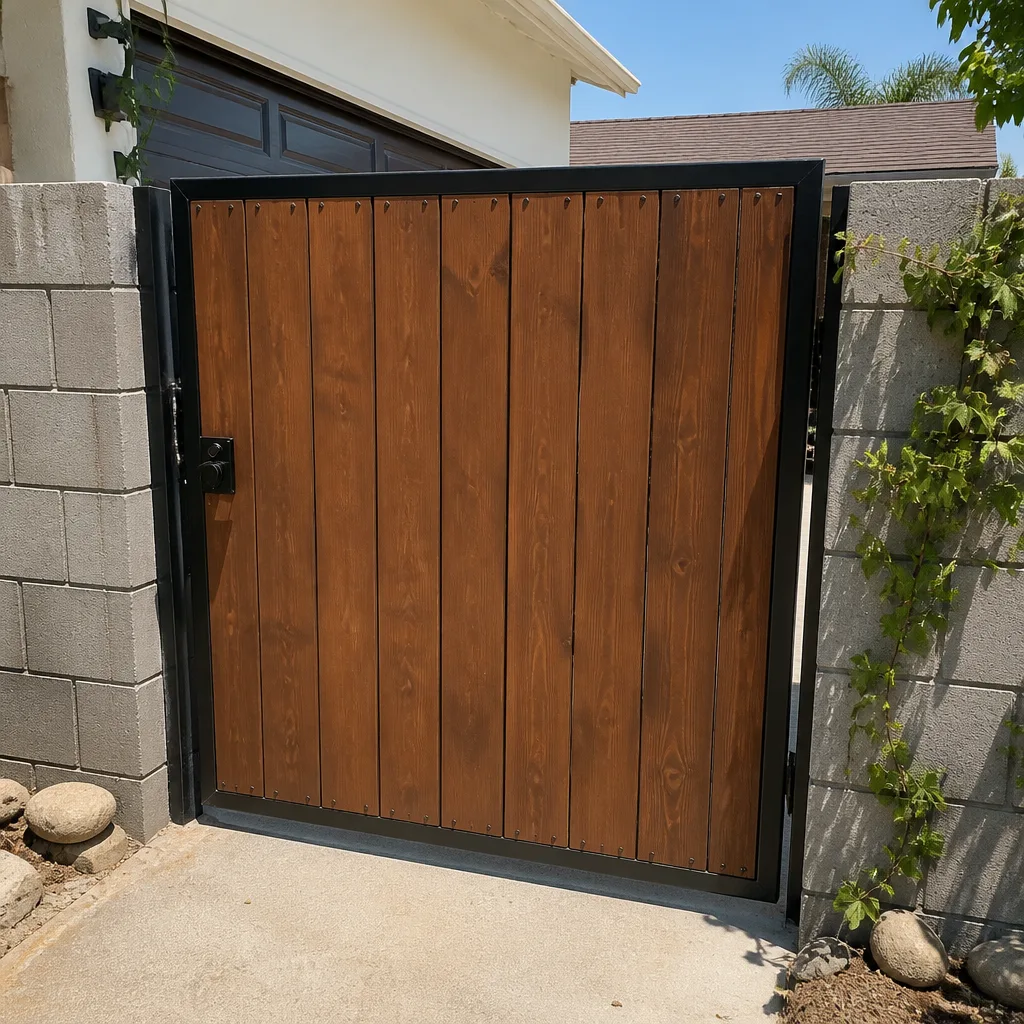
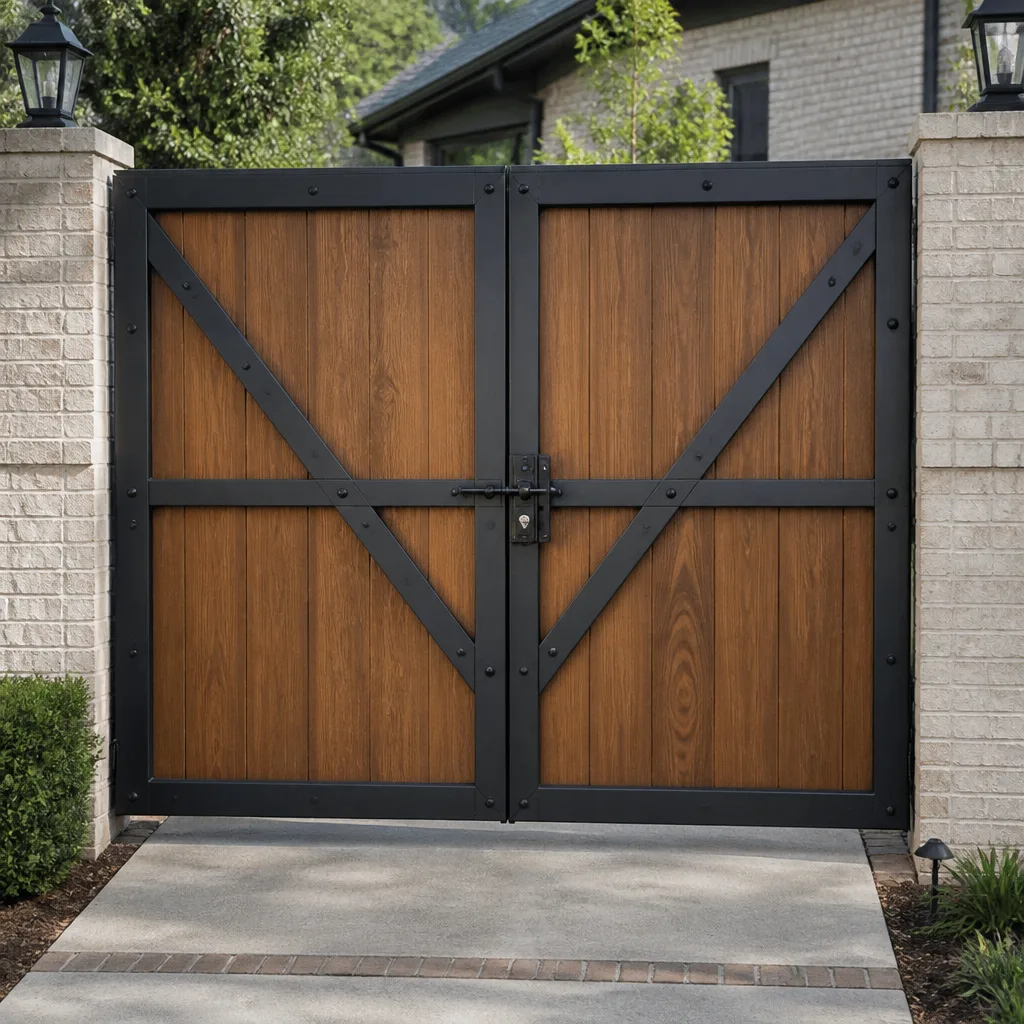 Wood & steel frame
 Farm & ranch
 Sliding driveway gates
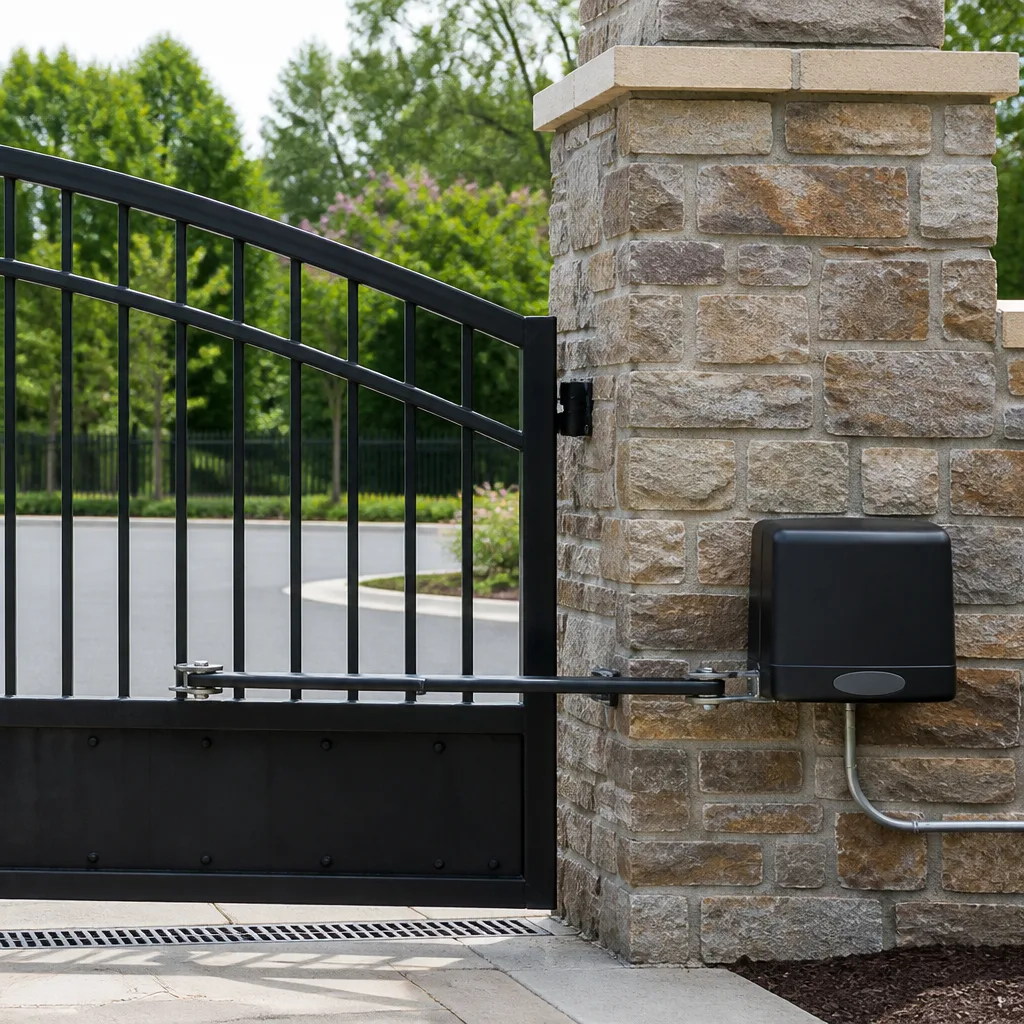 LiftMaster operators
Free on-site gate assessment - hinges, posts, and your LiftMaster or Nice gate operator checked before anything is quoted
The assessment is free and the quote is the invoice.
Get your free estimateGate Repair Troubleshooting: Common Problems and How to Fix Them
We see it weekly in Oxnard: a homeowner swaps out a perfectly good remote control because the gate won’t open, but the actual fault sits in a failing transformer they could have tested with a $25 multimeter. The transformer costs about $12. The remote they replaced runs $45 to $70. Multiply that by the thousands of gates across Oxnard, and you start to understand why gate repair troubleshooting is less about guesswork and more about sequence. This guide walks you through the same fault-isolation method professional technicians use, working from the power source outward through the control board, motor, and mechanical linkage. By the end, you’ll know what your gate is telling you, what to check safely, and what to document before you call for service.
Quick Answer
Gate repair troubleshooting starts with one rule: test the power supply first, then the control board, then the motor, and only then the mechanical linkage. Most gate failures trace to one of four causes: no power reaching the operator, a control board fault or sensor loop error, a failed capacitor or motor winding, or a mechanical binding in the hinges, rollers, or track. Matching the symptom (no response, humming without movement, reversing immediately) to the right layer eliminates roughly 80 percent of misdiagnoses before any parts get ordered.
Styles & brands we work with
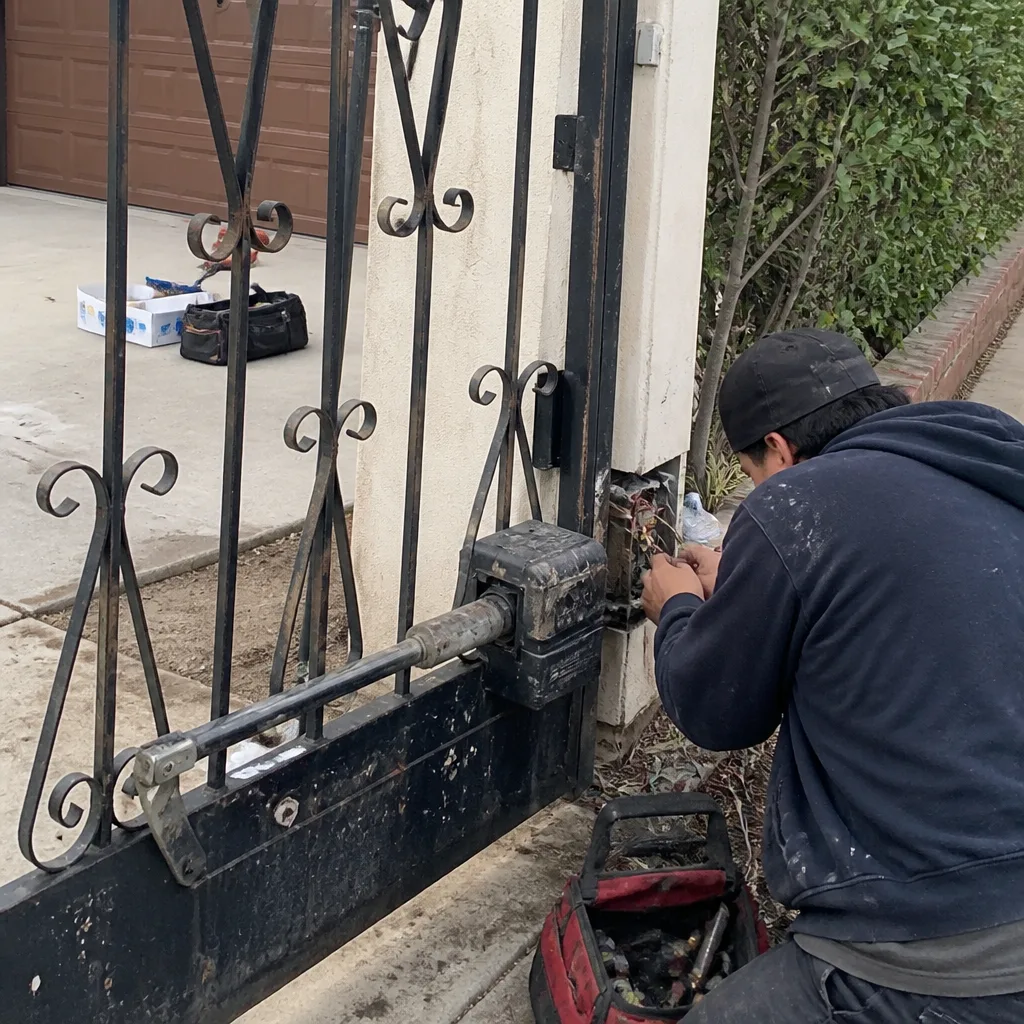
- Wrought iron
- Wood & steel frame
- Farm & ranch
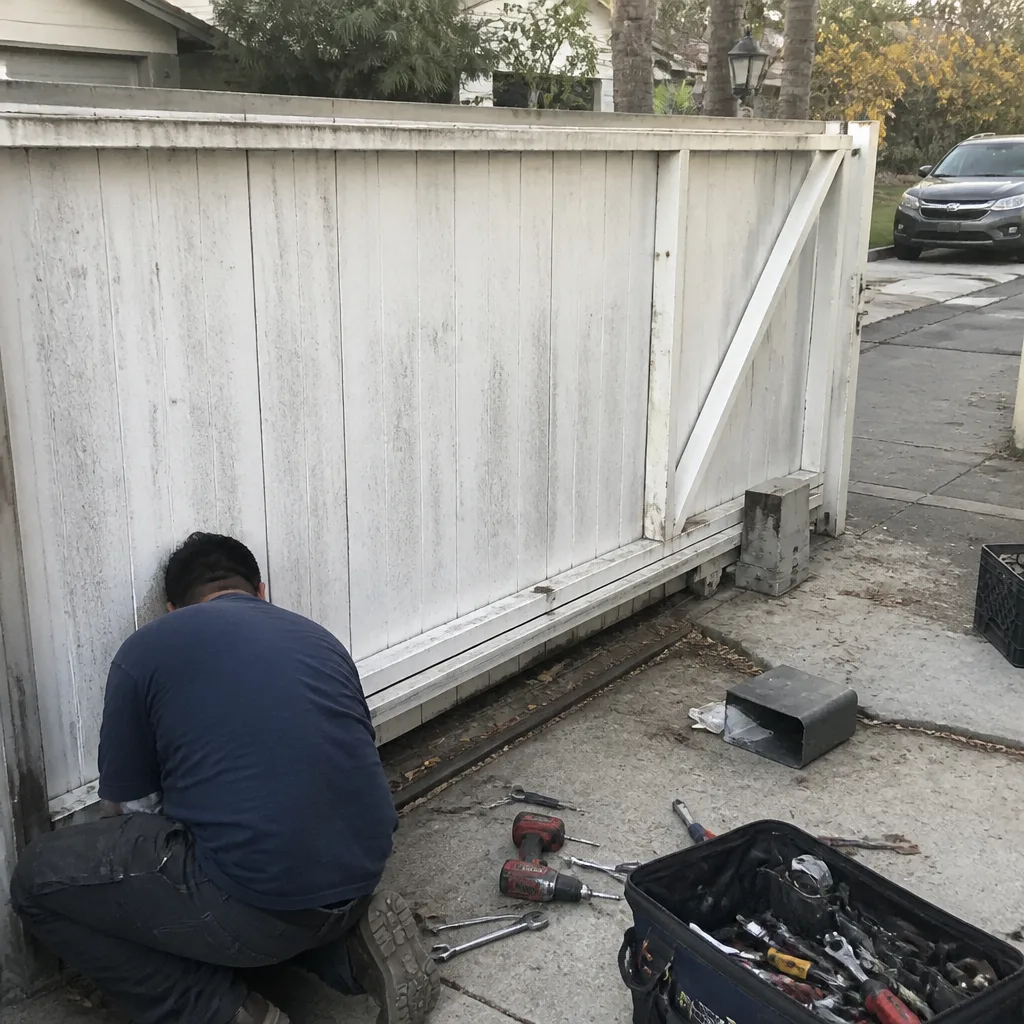
- Sliding driveway gates
- LiftMaster operators
Table of Contents
- The Diagnostic Sequence: Four Layers, Skipped at Your Own Risk
- Symptom Sorting: The Three Gate Failures You’re Most Likely to See
- Fault Codes Decoded: LiftMaster LA400, Mighty Mule FM500, Ghost Controls TSS1
- Electrical Testing Without a Technician: Multimeter Basics That Save Real Money
- Mechanical Checks: Hinges, Wheels, Track, and Chain
- Sensor Issues: Photo Eyes, Safety Edges, and Loop Detectors
- What to Document Before Calling a Technician
- Oxnard-Specific Notes: Heat, Salt Air, and Gates Built for Coastal Duty
If your gate is dead, misbehaving, or stuck halfway, this page is a complete diagnostic reference. We’ve organized it the way a technician thinks, because the sequence is the fix. For readers new here, this is the Gate Repair Oxnard home guide to troubleshooting, written from the work we do across residential and commercial properties every week. If you need more detail on automated system issues, see our Electric Gate Repair in Oxnard page.
The Diagnostic Sequence: Four Layers, Skipped at Your Own Risk
Professional gate technicians don’t start with the motor. They start with the wall outlet or breaker panel, then work forward. Here is the sequence, in order, and the reason every layer matters. The reason this sequence works is that each layer can produce symptoms identical to the layer above it. A dead gate looks the same whether the breaker tripped, the control board failed, or the motor burned out. Testing from the power source outward eliminates the cheapest causes first.
- Power supply. Is the breaker on? Is the GFCI tripped? Is the transformer producing correct voltage? For solar systems, is the panel producing current and is the battery holding a charge? This layer accounts for a surprising number of service calls, and it is the one a homeowner can often fix in two minutes without touching a motor housing.
- Control board. If power reaches the operator but nothing happens, the board is the next suspect. Look for visible scorching, swollen capacitors, or a fault code LED. Control board failures are common on gate systems in coastal areas because salt-heavy air corrodes connectors and traces.
- Motor or actuator. If the board sends voltage and the motor does not turn, test the capacitor first. A failed capacitor is about $20 and produces the classic “hum but no movement.” A seized motor is a different repair entirely.
- Mechanical linkage. Only after the first three layers test clean should you inspect hinges, rollers, chain tension, and track alignment. Mechanical problems can stall an otherwise healthy motor, but they don’t cause a complete lack of response, which is why they sit last in the sequence.
Skipping layers costs money. Replacing a control board when a limit switch is simply out of adjustment is a classic example. The board runs $150 to $400 depending on brand. The limit switch adjustment takes ten minutes. We’ve worked on these systems for years, and the same pattern repeats across every brand: the fault is rarely where the symptom points.
Symptom Sorting: The Three Gate Failures You’re Most Likely to See
Before any tool touches a component, sort the gate into one of three symptom categories. Each category points to a different area of the system, and they do not share the same fault tree.
Symptom 1: The gate does not respond at all
No click. No hum. No movement. This symptom almost always lives in the power supply or the control board. Check the breaker, the GFCI, and whether the operator outlet has power. If the outlet is live and the board shows no LED, the transformer or board has failed. On solar systems like the Ghost Controls TSS1, a completely dead unit often means the battery dropped below the system’s minimum voltage threshold.
Symptom 2: The gate hums but does not move
A humming motor that does not produce movement points in one of two directions. On AC-powered operators, a failed start capacitor is the most common cause, and it’s a $15 to $30 part that requires basic wiring knowledge to replace. On DC motors, a humming condition usually signals a seized gearbox or a restriction in the mechanical linkage. This symptom is electrical at the motor level, not the control board.
Symptom 3: The gate reverses immediately or mid-cycle
An immediate reversal on a swing or slide gate normally means the gate is reading an obstruction. For photo-eye systems, a misaligned or dirty sensor is the typical culprit. For safety-edge systems, a crushed edge or a failing edge resistor does the same thing. Why does this distinction matter? Because the fix for misalignment is a screwdriver adjustment; the fix for a failed safety edge is a replacement strip. Different cost, different labor, same symptom. We typically find Oxnard gates with this symptom are misaligned photo eyes, and if you find your gate behaving like this, it is worth addressing the sensor path before assuming the operator is failing. For a deeper look at automated systems, see our Electric Gate Repair in Oxnard guide.
Fault Codes Decoded: LiftMaster LA400, Mighty Mule FM500, Ghost Controls TSS1
Most modern operators flash a diagnostic code before they do anything else. The code pattern is the gate’s way of telling you which subsystem failed. Here are the most common residential operators we work on in Oxnard and what their codes mean in plain language. Identifying the operator brand before calling a technician saves real time, because the fault codes are brand-specific. A Linear control board and a DoorKing board do not speak the same diagnostic language.
LiftMaster LA400
- One flash, then pause: Obstruction detected. Check the gate path for debris or a binding hinge.
- Two flashes: Force reversal trip. The gate encountered resistance it interpreted as an obstruction. This is common when grease on the hinge posts has hardened or dirt has built up on the rail.
- Three flashes: Limit switch error. The gate does not know where its open and closed positions are, which means the limit cams or the limit switch assembly needs attention.
- Four flashes: Battery voltage low (on battery-backup units). On a residential LA400, low battery after a power bump is common in Oxnard when coastal storms cause brief outages.
Mighty Mule FM500
- Continuous red light on the control board: The system is in learning mode, not a fault state. Do not leave it in this mode.
- Two beeps, no movement: Battery voltage too low to operate. Connect a trickle charger or replace the battery.
- Three beeps: Overcurrent or obstruction. Check the arm bracket for looseness or the gate for mechanical binding.
- Five rapid beeps: The control board is sensing a shorted accessory, usually a photo eye or a keypad wiring fault.
Ghost Controls TSS1
- Red LED flashing five times: Sensor obstruction or photo-eye fault. Clean the sensor lenses and realign.
- Red LED flashing three times: Low battery voltage. On solar TSS1 units in Oxnard, battery capacity degrades faster with summer heat, and the panel output may not keep up if leaves or dust accumulate.
- Red LED solid, no movement: The operator is in bypass or learn mode. Cycle power to reset.
These are just three of the brands we service. Gate Repair Oxnard works on nine major operator brands in total, from these entry-level consumer systems up to Viking and DoorKing commercial equipment. The point is not that you should memorize every code, but that the sequence matters: read the code before touching anything.
Electrical Testing Without a Technician: Multimeter Basics That Save Real Money
A $25 multimeter answers most electrical gate questions faster than a service call. The three tests below are the same ones we run before replacing any motor or board. If you are comfortable working around low-voltage wiring, these will tell you exactly where the fault sits. If you are not comfortable, skip this section and write down the symptoms instead. We cannot stress this enough: gate operators run on electricity, and the wrong probe placement can damage the control board permanently.
- Transformer output test. Set the multimeter to AC voltage. Touch the probes to the transformer’s secondary terminals (the low-voltage side). Most residential gate transformers output 16 to 24 volts AC. If you read zero and the primary side has 120 volts, the transformer is dead. This is the single most misdiagnosed component in residential gate repair.
- Capacitor test. Disconnect power completely. Use the multimeter’s capacitance setting if it has one, or the resistance setting if it does not. A healthy capacitor reads rising resistance then open. A capacitor that reads zero ohms is shorted and needs replacement. The classic “hum but no movement” symptom is this part failing.
- Battery voltage test. For solar or battery-backup systems, set the meter to DC voltage. A 12-volt battery below 11.6 volts is effectively dead to the operator, even if the panel is charging. A battery that reads 13.8 to 14.4 volts while the panel is in full sun is charging correctly.
What distinguishes a motor failure from a capacitor failure? A capacitor failure shows infinite or zero capacitance and the motor hums. A motor failure shows correct capacitor function and the motor still does not turn, or it turns but produces a burning smell. A limit-switch failure produces a gate that opens but does not stop at the correct position, or stops but immediately reverses. These three faults produce different behaviors, and the multimeter is the only way to separate them without swapping parts.
Mechanical Checks: Hinges, Wheels, Track, and Chain
Once electrical layers test clean, the problem lives in the mechanical system. These checks apply to swing gates and slide gates equally, though the specific parts differ. For a swing gate, the wear points are hinges and the actuator arm bracket. For a slide gate, the wear points are rollers, track, and chain or rack.
Swing Gate Checks
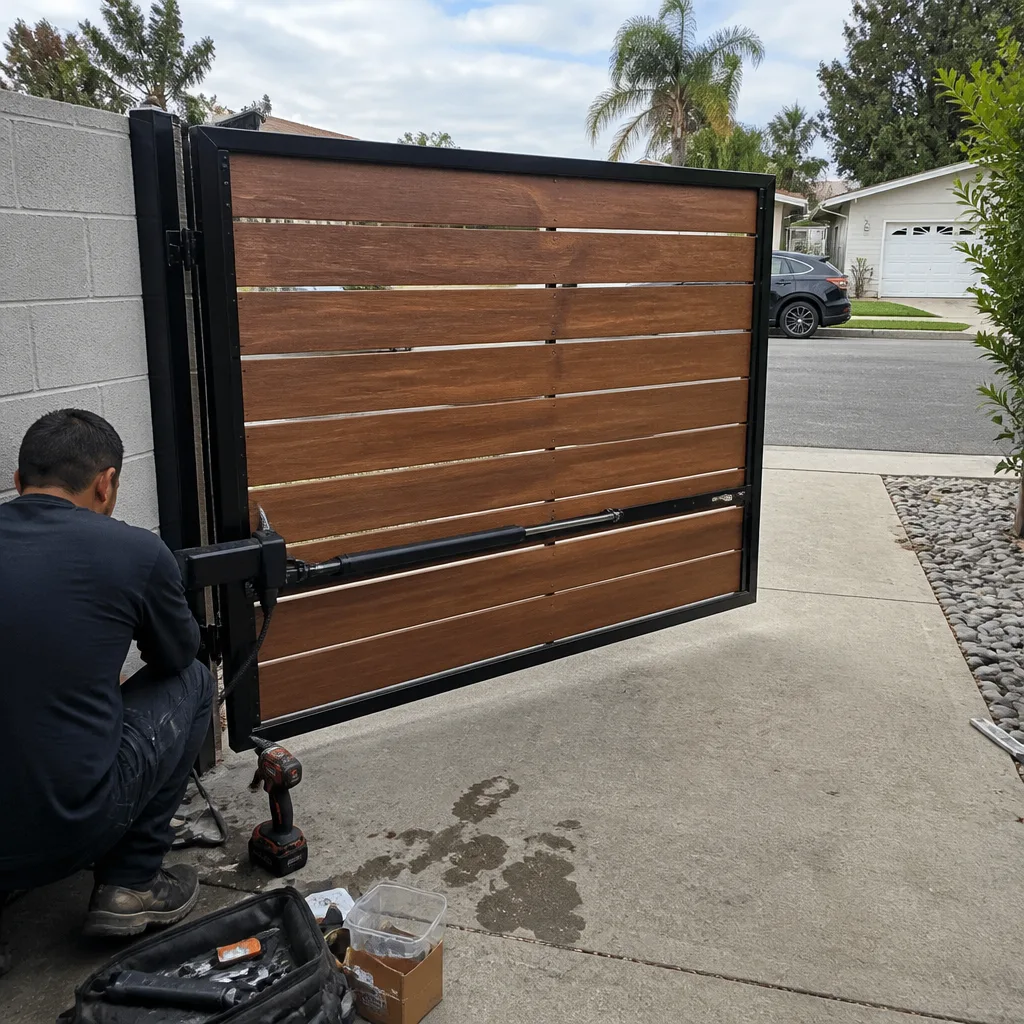
- Hinge lubrication and wear. Dry or corroded hinges increase the force required to move the gate. The operator’s force sensing reads this as an obstruction and reverses. In Oxnard, the marine layer adds moisture that accelerates hinge corrosion on metal gates.
- Actuator arm bracket. A loose bracket can produce an erratic gate that moves normally one day and sticks the next. Check the bolts with a wrench, not just visually.
- Gate leaf alignment. A gate that has settled on its hinges will drag on the ground or scrape the latch post. The added friction trips the obstruction sensor.
Slide Gate Checks
- Roller condition. Worn rollers cause the gate to ride low, which binds the rack against the drive gear. You will hear a grinding sound metal on metal.
- Track debris. Oxnard’s wind carries sand and palm debris into slide tracks. A track packed with debris stalls a healthy motor in days.
- Chain or rack tension. A loose chain skips teeth and produces a jerky movement. A tight chain overloads the gearbox. The correct tension leaves about a half inch of flex in the chain at the center span.
Mechanical fixes cost less than electrical repairs, but they cause a disproportionate share of service calls because they mimic motor failure. The gate starts strong, slows, stalls, and the homeowner assumes the motor is weak. In our experience across Oxnard, a stiff hinge is more common than a dead motor. If you find a mechanical issue you can’t resolve, we cover both manual and electric systems, from gate structure to operator. Our Gate Repair in Oxnard page covers the full range.
Sensor Issues: Photo Eyes, Safety Edges, and Loop Detectors
Sensors are the most repaired and least understood subsystem on an automated gate. They fail slowly, produce intermittent symptoms, and get blamed for motor problems they did not cause. Under UL 325 safety requirements, every automated gate in the United States must have obstruction detection, which is why a faulty sensor stops the gate completely instead of allowing it to operate unsafely. This is not a defect. It is a safety feature doing its job.
Photo Eyes
Photo eyes work as a beam break system. If the beam is interrupted, the gate will not close, or it will reverse while closing. The beam weakens as the lenses get dirty, and the system starts reading false obstructions because the signal margin drops. Clean both lenses with glass cleaner. Check alignment by observing whether the receiver’s indicator light comes on when the transmitter is powered. A photo eye that drifts out of alignment in wind needs the mounting bracket tightened.
Safety Edges
Safety edges are pressure-sensitive strips mounted on the leading edge of the gate or the bottom edge. When the gate contacts an obstruction, the edge deforms and breaks or closes a circuit, which tells the board to reverse. A worn edge with a cracked rubber profile can fail in the closed state, meaning the gate always reads an obstruction even when the path is clear. Replace the edge if the rubber has visible cracks or if the edge has been crushed flat.
Loop Detectors
Loop detectors work through an inductance loop buried in the driveway. They tell the gate to open when a vehicle is present. A failing loop detector produces a gate that opens for no reason, or fails to open when a car approaches. Loop failures are more common on commercial systems, and fixing them usually requires cutting the pavement to replace the loop wire. This is not a homeowner repair.
Sensor issues are where brand-specific knowledge matters most. A Ghost Controls photo eye is wired differently from a Viking photo eye, and the diagnostic voltage is different too. We service equipment from nine manufacturers to address these differences directly instead of applying a generic fix. For more on sensor diagnostics and control board work, start with our Electric Gate Repair in Oxnard page.
What to Document Before Calling a Technician
Every piece of information you collect before calling saves money on the service visit. We ask the same set of questions on every call, and the customers who have answers get diagnosed faster. Here is what to photograph and write down before you pick up the phone.
- Fault code sequence. Count the flashes or beeps and write down the pattern. A photo of the LED with the flash illuminated does not help; a written sequence of three flashes, pause, two flashes does.
- What changed before the failure. Did a storm pass through? Did the power flicker? Did a gardener trim near the gate? Did a delivery truck hit the post? The timeline tells a big part of the story.
- Operator brand and model. The model number is on a sticker on the operator housing or control board. Gate Repair Oxnard services nine major brands, and the model number tells us which fault code table to reference.
- A photo of the gate in its stuck position. A gate stuck halfway open tells a different story than a gate stuck closed or fully open.
- Photo of the control board. If you can remove the cover safely, a photo of the board shows scorch marks, swollen capacitors, and corrosion that we need to see before we arrive.
This documentation usually cuts the diagnostic time in half, which reduces the service call cost. It also tells us whether the problem is urgent or can wait a day. A gate that will not close is more time-sensitive than a gate that hums but opens manually.
Oxnard-Specific Notes: Heat, Salt Air, and Gates Built for Coastal Duty
Gates in Oxnard fail differently than gates in the desert or inland valleys, and the difference comes down to two environmental factors: marine-layer moisture and wind-carried particulate. Salt-heavy air accelerates corrosion on circuit boards, hinge pins, and connector terminals. The same operator that lasts fifteen years in a dry climate may fail in eight years a mile from the Oxnard coast. The sand and palm debris that the afternoon winds push around this part of Oxnard also works its way into slide tracks and photo eye lenses faster than most manufacturers anticipate.
What does that mean for troubleshooting? It means corrosion is a primary suspect, not an afterthought. A control board that tests fine on voltage but fails intermittently may have salt corrosion bridging two traces. A solar panel producing low voltage may be coated with a salty film that blocks more sunlight than you realize. If your gate acts erratically after a week of coastal fog, corrosion is the likely culprit, and cleaning the exposed connections is the first step before any component replacement. The same applies to gates near the agricultural fields southeast of the city, where dust and fertilizer dust settle into every exposed electrical contact.
For gates in these coastal exposure zones, the practical advice is straightforward: inspect and clean connector terminals twice a year, keep the mechanical components lubricated with a marine-grade grease, and replace photo eye lenses the moment they show pitting. The hardware difference is real, and adapting your maintenance schedule to the environment prevents most of the failures that send people scrambling. Gate installation choices also matter here; a gate specified for coastal duty should have stainless steel hinges and sealed control enclosures. Our Gate Installation in Oxnard page covers what to specify for coastal properties.
Common Mistakes to Avoid
- Replacing the remote before testing the operator. This is the classic misdiagnosis we opened with. If the remote blinks or lights up and the gate does nothing, the remote is probably fine. Test the wall button or the manual open function before spending money on a new remote.
- Replacing the battery before testing the charging system. A dead battery is a symptom, not a root cause. If the panel or transformer is not charging, a new battery dies the same way in a month.
- Ignoring the fault code. The operator is literally telling you what is wrong. Skipping the code and guessing costs parts, labor, and time.
- Adjusting the force setting instead of fixing the mechanical binding. Some operators let you increase the force threshold so the gate powers through stiffness. This fix masks the problem and strains the motor. A gate that needs more force to move is a gate with a mechanical problem.
- Working on a gate without disconnecting power. We cannot say this enough. Gate operators have capacitors that store charge after the breaker is off. Discharge the capacitor or call a professional.
- Lubricating every moving part. Greasing a slide gate track or a photo eye housing creates a sticky surface that collects sand and dust faster. Lubricate hinges and roller bearings only, and use a dry graphite or PTFE spray where dust is present. In Oxnard’s wind, the wrong lubricant turns a clean track into a grinding paste.
See the difference
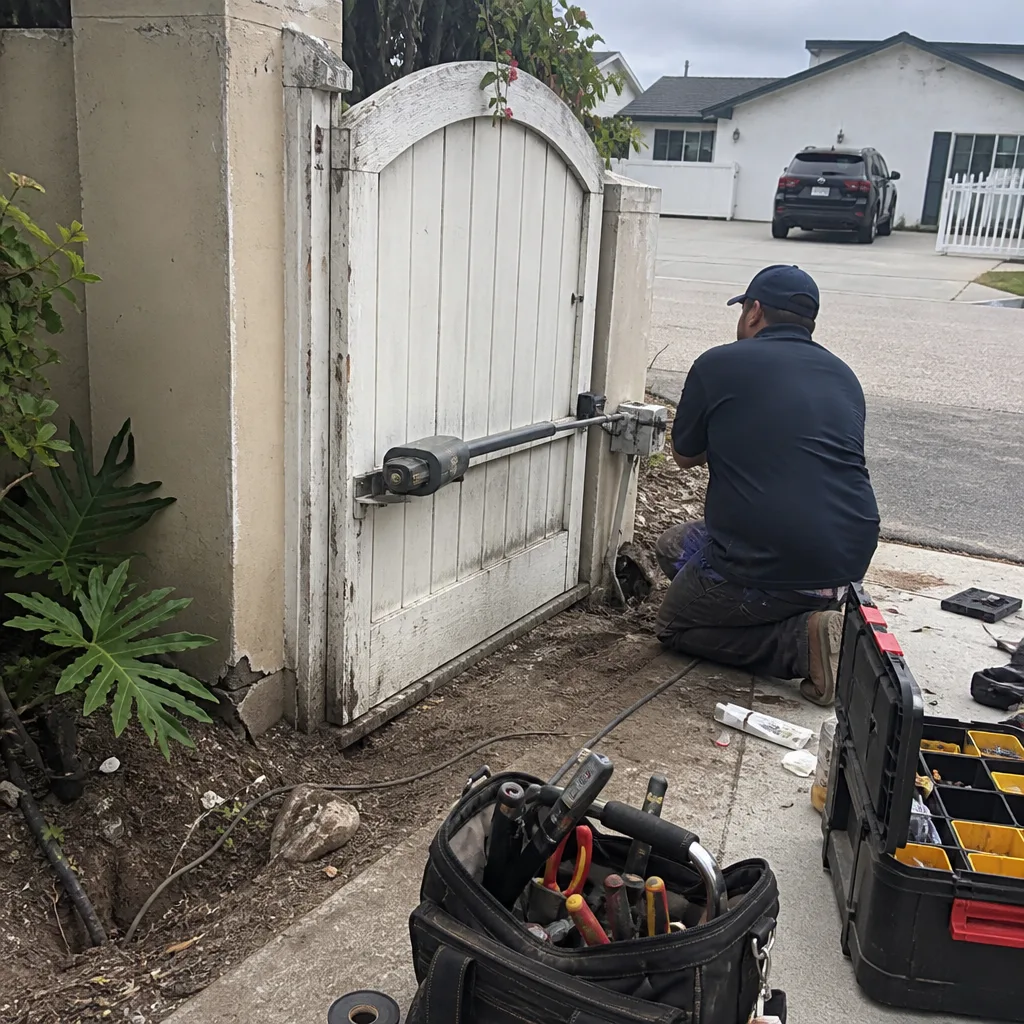 Before
 After
 Before
 After
 Before
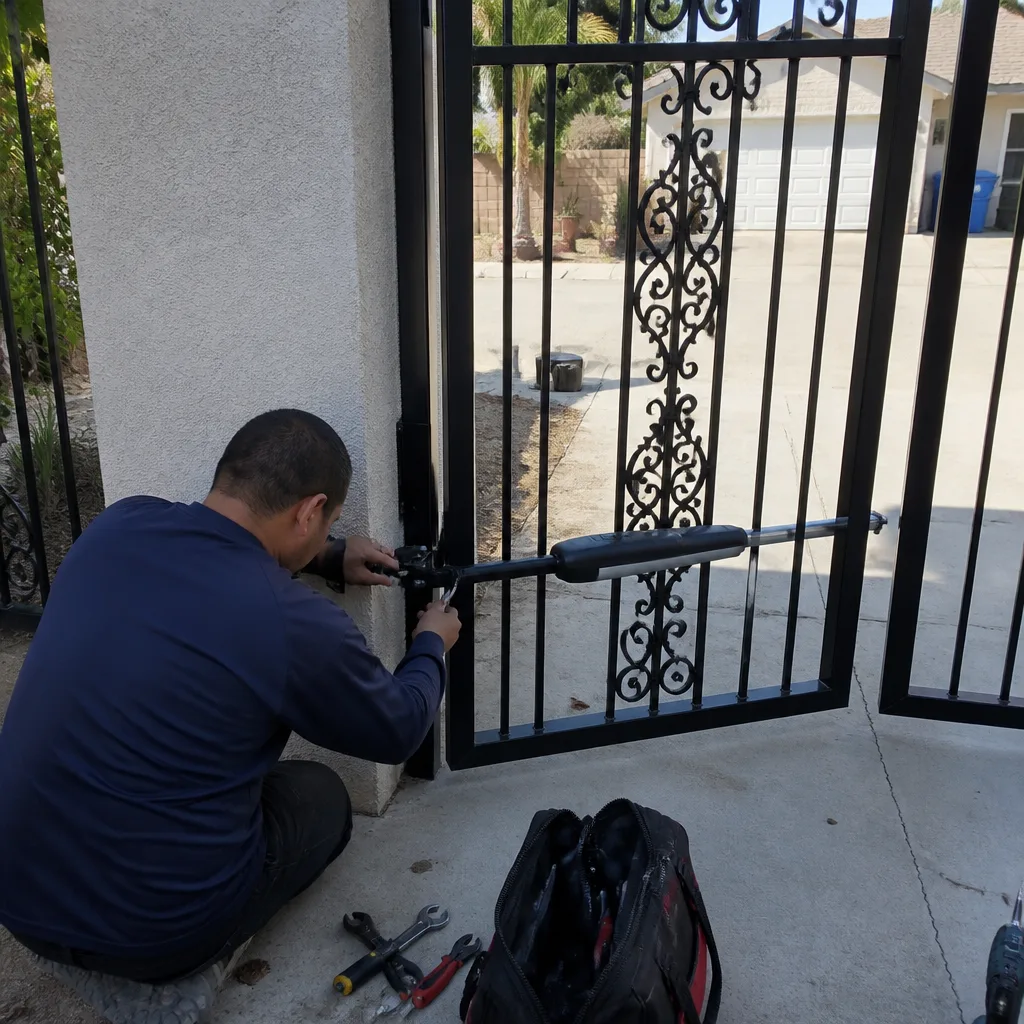 After
When to Call a Professional
Call a technician when the control board shows scorch marks, when capacitors are swollen, when the motor produces a burning smell, or when high-voltage wiring is exposed anywhere near the operator. Also call if you have replaced two components and the problem persists; at that point, the original diagnosis was probably wrong, and the economics of guessing have already cost more than a service call. Gate repair done correctly requires the right diagnostic knowledge across brands, because a Viking operator and a DoorKing operator share few components. The difference between applying a generic fix and knowing which circuit architecture you are testing is the difference between a repair that holds and one that fails again in a month. Gate Repair Oxnard offers free estimates in Oxnard, call (833) 589-9922.
Frequently Asked Questions
A gate that opens but will not close usually has an obstruction-sensor fault, not a motor problem. The photo eyes, safety edge, or loop detector is telling the control board that something is in the gate path, and the board is correctly refusing to close the gate. Clean and realign the photo eyes, check the safety edge for cracks, and make sure nothing is near the gate path.
Gate repair in Oxnard typically ranges from $150 for a simple sensor realignment or transformer replacement to $800 or more for a control board or motor replacement on a commercial operator. Most residential repairs fall between $200 and $400. The final price depends on the brand, the fault location, and whether the operator components are still available. Call (833) 589-9922 for a free estimate specific to your system.
Gate Repair Oxnard services nine major gate operator brands across residential and commercial systems: LiftMaster, FAAC, BFT, Linear, Viking, Ghost Controls, DoorKing, Elite, and Mighty Mule. If your operator is outside this list, call us, and we will tell you whether parts and programming support are available.
A power surge or spike during an outage can damage the control board, but more commonly it is a tripped GFCI or a depleted battery on a battery-backup system that has stopped charging. Check the GFCI outlet first, then check battery voltage. If the board is dead and the outlet is live, the surge likely took out the transformer or the board itself.
Test the capacitor with a multimeter. A failed capacitor shows as a short or as open capacitance, and the motor will hum but not turn. A motor with a good capacitor that still does not turn, or that produces a burning smell, is a motor failure. This test takes about five minutes and prevents replacing a motor over a $20 capacitor.
Yes. We repair everything from a homeowner’s Mighty Mule opener to a commercial DoorKing access-control system on a multi-tenant property. We work on swing gates, slide gates, and barrier arms, and we handle both the mechanical gate structure and the electric operator.
The Bottom Line
Gate troubleshooting is a sequence, not a guess. Start with power, then control board, then motor, then mechanical linkage. Read the fault code before replacing anything. Test with a multimeter before ordering parts. Document the symptoms, the code sequence, and anything that changed before the failure, then call if the fix exceeds your comfort level. Most gate repairs in Oxnard are straightforward once the actual fault is identified, and the fastest way to find it is to work through the layers in order. When you hit a layer you’d rather not touch, Gate Repair Oxnard is one call away at (833) 589-9922 for a free estimate.
Written by the team at Gate Repair Oxnard, serving Oxnard since 2017.